Vocal Compression Settings: What Actually Works
Practical vocal compression settings that work. No theory overload—just the numbers that get results.
Everyone overcomplicates vocal compression. Here's what actually works.
I've compressed thousands of vocals. Most of them don't need aggressive settings. They need consistent, transparent control that keeps the voice present without sounding squashed.
The Settings That Work 90% of the Time
Ratio: 3:1 to 4:1
Attack: 10-30ms (let the consonants through)
Release: 100-200ms (or auto-release if your compressor has it)
Threshold: Adjust until you're getting 3-6dB of gain reduction on the loudest parts
Makeup gain: Whatever brings it back to roughly where it was
That's it. That's the starting point for almost every vocal.
Why These Settings Work
The Ratio
3:1 to 4:1 is enough to control dynamics without crushing the life out of the performance. Higher ratios (8:1, 10:1) turn vocals into flat, lifeless walls of sound. Lower ratios (2:1) barely do anything.
For aggressive vocals—rap, rock, screaming—you might push to 6:1. But start at 4:1 and only go higher if you need to.
The Attack
This is where most people screw up.
A fast attack (under 5ms) catches the initial consonants and transients. That's the stuff that makes vocals intelligible and present. Kill those transients and your vocal sounds dull, pushed back, lifeless.
10-30ms lets the "t," "k," "p," and "s" sounds punch through before the compressor clamps down. The vocal stays up front in the mix.
If your vocal sounds flat and buried, your attack is probably too fast.
The Release
Too fast: the compressor pumps and breathes audibly.
Too slow: you're squashing everything, including the quiet parts.
100-200ms works for most tempos. Auto-release is actually great on vocals because it adapts to the dynamics of each phrase.
The Threshold
Forget the number—watch the gain reduction meter. You want 3-6dB on the loud parts, minimal reduction on the quiet parts.
If you're crushing 10dB constantly, back off the threshold. You're compressing too hard.
The Signal Chain Order
My typical vocal chain:
- Gain staging - Get the level right first
- Subtractive EQ - Cut problems (rumble, mud, harshness)
- Compression - Control dynamics
- Additive EQ - Shape the tone you want
- De-esser - Tame sibilance (more on this in another post)
- Effects sends - Reverb, delay
Some engineers put the de-esser before compression. Both work. If your compressor is making the sibilance worse, try de-essing first.
Serial Compression (The Pro Move)
Here's what I actually do on most vocals: two compressors in series.
First compressor: Light ratio (2:1 to 3:1), catching 2-4dB
Second compressor: Slightly higher ratio (4:1), catching another 2-4dB
Why? Distributing the work across two compressors sounds more transparent than one compressor doing all the heavy lifting. Each one is just tickling the signal.
This is how a lot of professional mixers work. The vocal sounds controlled but natural. No pumping, no squashing.
When to Use Different Compression Styles
For Natural, Transparent Control
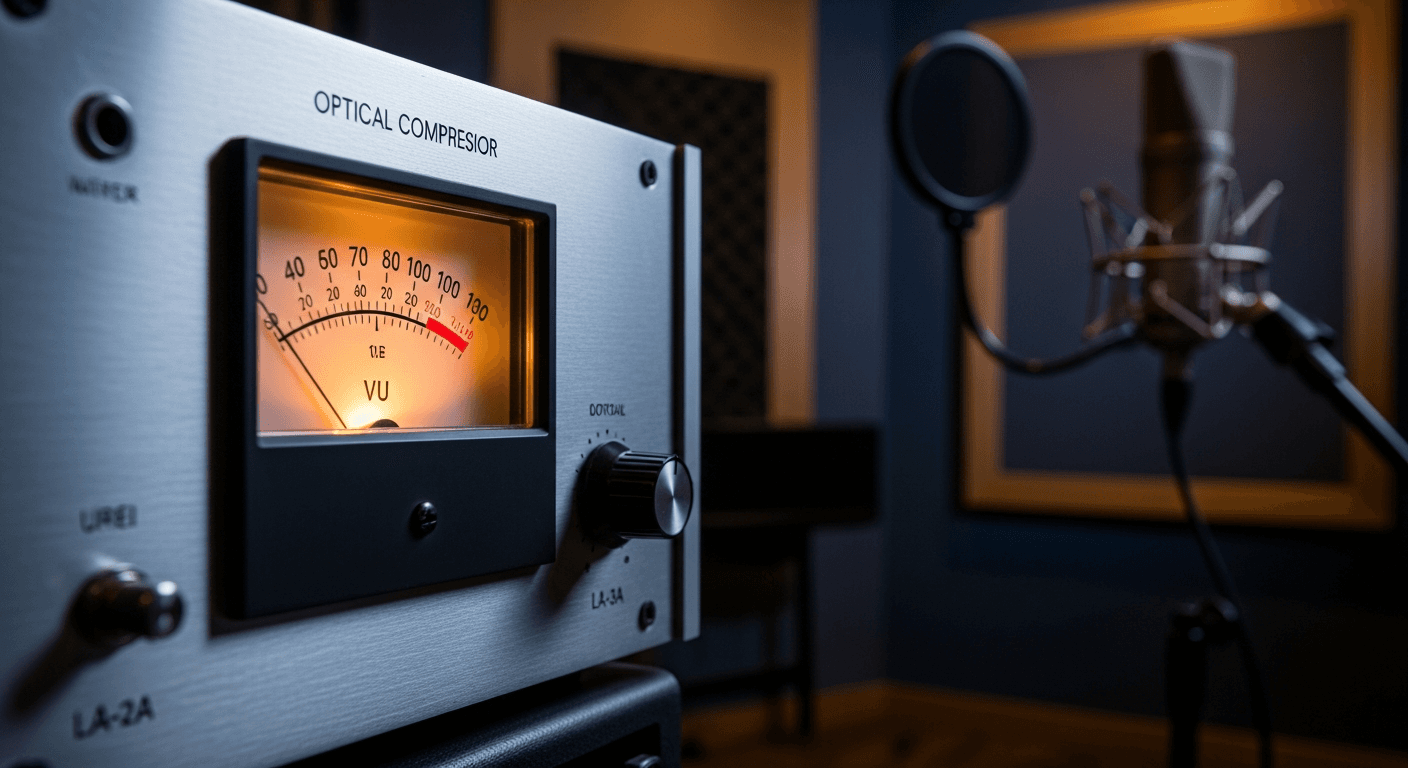
Use an optical compressor (LA-2A style) or a VCA with soft knee. These respond smoothly and don't grab aggressively.
For Adding Character
Use an 1176-style compressor. It has a specific sound—fast, punchy, a little aggressive. Great for rock vocals, rap, anything that needs attitude.
For Glue and Warmth
Use a tube compressor or something with harmonic saturation built in. The compression controls dynamics while the saturation adds density.
Common Mistakes
Too Much Compression
If the vocal sounds flat, lifeless, or like it's fighting to stay audible, you're compressing too hard. Back off.
Attack Too Fast
The vocal sounds dull and buried. The transients that make vocals cut through the mix are being killed. Slow down the attack.
Ignoring Gain Staging
Compressing a signal that's too hot or too quiet gives weird results. Get your input levels right before you compress.
One Compressor Doing Everything
Two compressors at 3dB each sounds better than one compressor at 6dB. Try serial compression.
The Bottom Line
Start with 4:1 ratio, 20ms attack, 150ms release. Adjust the threshold for 3-6dB of gain reduction on peaks.
Then use your ears. Does it sound controlled but natural? Good. Does it sound squashed? Back off. Does it sound inconsistent? Compress harder.
Compression isn't magic. It's just controlling volume automatically. Get the settings in the ballpark and let your ears do the rest.
Related Articles
How to Use Reference Tracks: The Pro Mixing Secret
Reference tracks are how professionals avoid mix blindness. Learn to use them effectively without losing your own sound.
Delay Settings for Vocals: From Subtle to Dramatic
How to use delay on vocals without creating a muddy mess. Practical settings for slap, tempo-sync, and throw delays.
Volume Automation in Mixing: The Secret to Professional Mixes
Compression isn't enough. Learn how volume automation separates amateur mixes from professional ones.