Mid-Side EQ: How to Widen Your Masters
How to use mid-side EQ to add width and clarity to your mixes and masters.
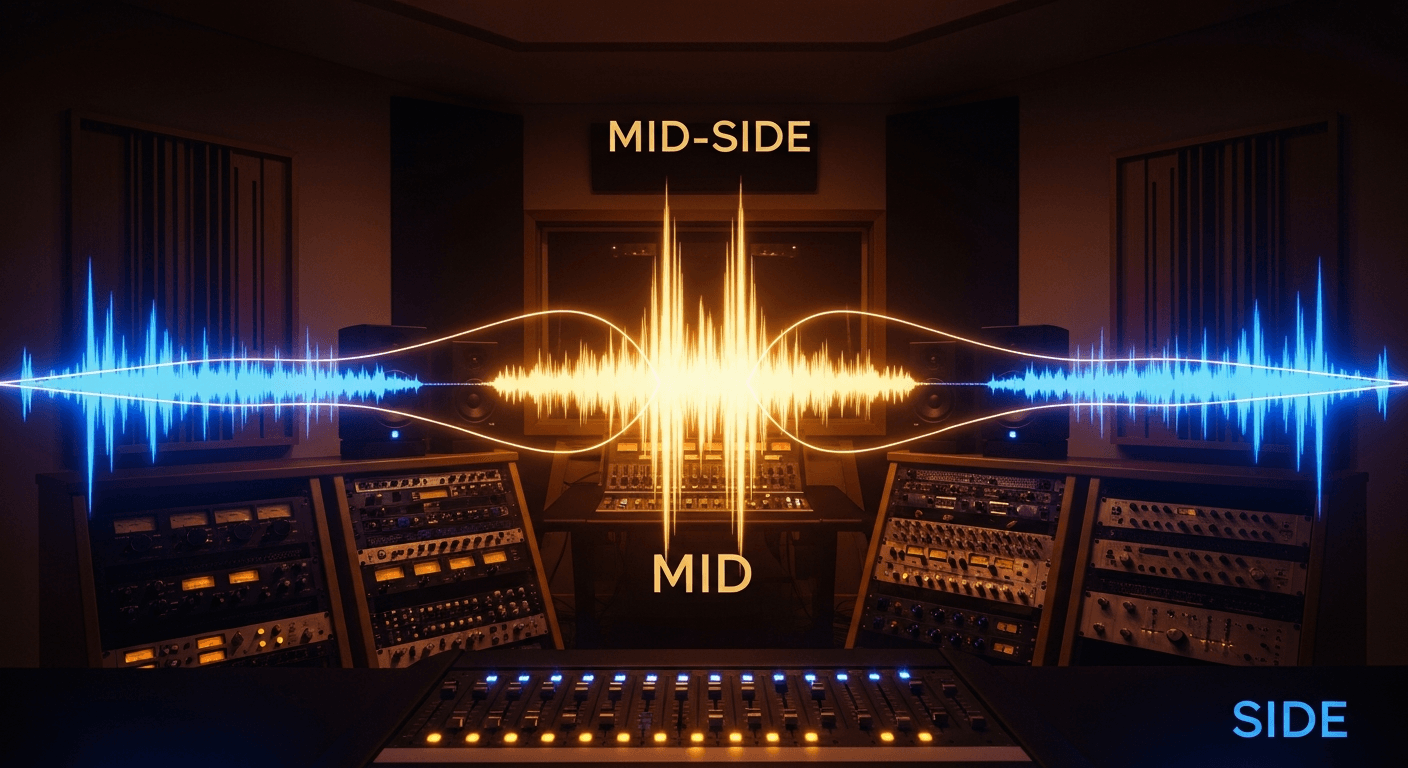
Mid-side EQ lets you process the center and sides of your stereo image separately. It's one of the most powerful tools for adding width and clarity to mixes and masters.
But it's easy to screw up. Here's how to use it right.
What Mid-Side Actually Is
Regular stereo: Left channel and Right channel.
Mid-side: Mid channel (L+R, everything in the center) and Side channel (L-R, everything that's different between left and right).
When you EQ the Mid, you're affecting vocals, bass, kick, snare—anything panned center.
When you EQ the Sides, you're affecting panned guitars, stereo synths, room mics, reverb tails—anything that's different between left and right.
This lets you make surgical adjustments that aren't possible with regular stereo EQ.
The Two Main Moves
For mastering with mid-side EQ, there are two primary techniques that solve most problems:
1. Tighten the Low End
Low frequencies should be mono. When bass information is spread across the stereo field, it causes phase issues on playback systems and wastes headroom.
The fix: High-pass filter the Sides around 100-150Hz.
This removes low-frequency content from the stereo sides, pulling all the bass to the center. The result is a tighter, more focused low end that translates better across different playback systems.
Some engineers go as high as 200Hz, but be careful—you can start affecting the body of guitars and other wide elements.
2. Widen the Highs
High frequencies can be spread wider to create an expansive, "3D" feeling without affecting the punch and focus of the low end.
The fix: Gentle high-shelf boost on the Sides, starting around 8-12kHz. Maybe 1-2dB.
This adds "air" and sparkle to the stereo edges, making the mix feel wider. The center (vocals, kick, snare, bass) stays untouched.
Other Useful Moves
Clear Space for Vocals
If the mix feels cluttered in the vocal range, you can cut the Sides in the 2-4kHz region. This pushes competing elements slightly to the sides while keeping the center clear for vocals.
The move: 1-2dB cut on the Sides around 3kHz.
Add Center Punch
If the kick and snare feel weak, a gentle boost in the Mid channel around 100Hz (kick) or 200Hz (snare body) can add punch without affecting the panned elements.
The move: 1-2dB boost on the Mid at the fundamental frequency of kick or snare.
Tame Harsh Sides
Sometimes stereo reverbs or wide elements have too much high-frequency harshness. You can cut the Sides around 6-8kHz to tame this without dulling the vocal.
The move: 1-2dB cut on the Sides in the harsh frequency range.
The Danger Zone
Mid-side processing is powerful, which means it's easy to overdo.
Don't Go Crazy with Width
Boosting the Sides too much makes a mix sound unnatural—like listening through a wide tube. Some producers call this the "headphone effect."
Subtle widening (1-2dB high shelf on Sides) sounds expansive. Heavy widening sounds weird and translates poorly to mono.
Watch for Phase Issues
When you high-pass the Sides, you're using a filter with phase shift. In regular stereo this becomes different phase shifts on left and right, which can cause weird artifacts.
Solution: Use linear-phase EQ for mid-side mastering work. It's more CPU-intensive but avoids the phase problems.
The Center Isn't What You Think
Hard-panned elements aren't purely in the Sides—they show up in both Mid and Side. When you boost the Sides, you're affecting those elements, but not as much as you might expect.
Perfect separation between Mid and Side isn't possible. Keep your moves subtle.
Practical Settings
Here's a starting point for mid-side mastering EQ:
Side Channel:
- High-pass at 120Hz (steep slope)
- High-shelf boost at 12kHz, +1dB
Mid Channel:
- Leave alone unless there's a specific problem
That's it. Those two moves—tighten the lows, widen the highs—handle most mastering situations.
When Not to Use Mid-Side
Narrow Mixes
If the mix is already narrow (everything nearly mono), mid-side won't help much. There's not enough side information to work with.
Mono Compatibility Critical
If the track will be played a lot in mono (club systems, phone speakers), aggressive mid-side processing can cause problems. Always check mono after mid-side work.
The Mix Is Already Good
If the mix is well-balanced and translates well, you might not need mid-side processing at all. Don't add complexity for no reason.
Checking Your Work
Mono Test
After mid-side processing, collapse to mono and listen. Does anything disappear? Sound weird? Phase-y?
If mono sounds dramatically worse, you've gone too far with side processing.
AB Comparison
Toggle the mid-side EQ on and off. Is the "on" version actually better? Or just different?
It's easy to get excited about width and lose perspective. Make sure the processing is actually improving things.
Multiple Systems
Check on different speakers and headphones. Mid-side changes can translate unpredictably. What sounds great on headphones might sound weird on speakers.
Software Options
Most parametric EQs can do mid-side processing:
- FabFilter Pro-Q (excellent M/S mode)
- iZotope Ozone (built-in M/S mastering EQ)
- TDR Nova (free, has M/S mode)
- Waves F6 (affordable with M/S)
Any EQ with mid-side capability works. The technique is what matters.
The Bottom Line
Mid-side EQ is about two things: tight lows and wide highs.
- High-pass the Sides at ~120Hz to mono the bass
- Gentle high-shelf on the Sides at ~12kHz to add width
Keep the moves subtle—1-2dB maximum. Always check in mono. Use linear-phase to avoid artifacts.
That's all you need to know to use mid-side EQ effectively on your masters.
Related Articles
How to Use Reference Tracks: The Pro Mixing Secret
Reference tracks are how professionals avoid mix blindness. Learn to use them effectively without losing your own sound.
Delay Settings for Vocals: From Subtle to Dramatic
How to use delay on vocals without creating a muddy mess. Practical settings for slap, tempo-sync, and throw delays.
Volume Automation in Mixing: The Secret to Professional Mixes
Compression isn't enough. Learn how volume automation separates amateur mixes from professional ones.